How a Patient Check-In Kiosk Works, Step by Step
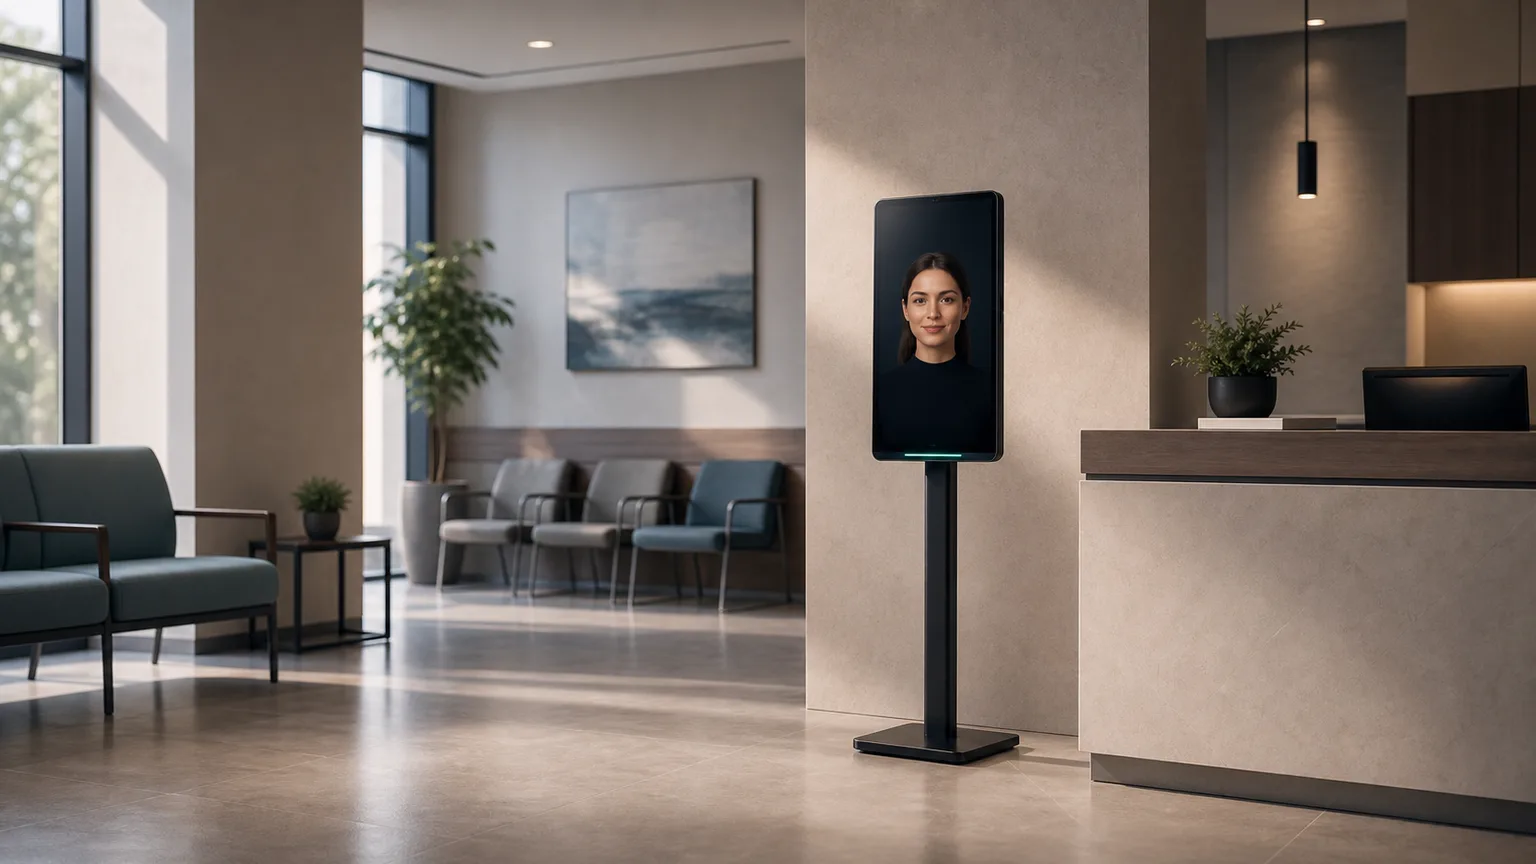
What is a patient check-in kiosk?
A patient check-in kiosk is a self-service touchscreen that lets patients confirm arrival, scan an insurance card, verify eligibility, and complete intake forms without waiting for staff, then writes the results directly into the practice's PMS in real time — so the front desk sees a checked-in, verified patient instantly.
That's the one-line answer. The rest of this guide walks through exactly what happens between "patient walks in" and "patient sits down in the waiting room," step by step.
The step-by-step check-in flow
Every kiosk vendor implements this slightly differently, but the core sequence is the same across dental, urgent care, and pediatrics practices. Here's what happens at each stage.
Step 1: Greeting and identification
The patient approaches the kiosk and it prompts them to identify themselves — by name search, date of birth, phone number, or a QR code sent with their appointment reminder. AI-avatar kiosks go a step further and greet the patient by name out loud, in the patient's preferred language, the moment they're recognized.
This step also flags same-day walk-ins versus scheduled appointments, so the kiosk knows whether to pull an existing record or start a new one.
Step 2: Insurance card scan and eligibility check
The patient places their insurance card on a built-in scanner or holds it up to a camera. The kiosk reads the card, cross-references it against the clearinghouse, and returns an eligibility result — active, inactive, or needs review — typically in under 10 seconds.
Manual insurance verification by a front-desk staffer usually takes 8-12 minutes per patient, including hold time with the payer. A kiosk collapses that to seconds because it queries the eligibility API directly instead of a human dialing in.
Step 3: Digital intake forms
If anything on file is missing or expired — updated address, new symptoms, consent forms, HIPAA acknowledgment — the kiosk presents only the fields that actually need attention. Returning patients aren't asked to re-fill a form they completed six months ago; the kiosk pulls their existing record and asks only for what's changed.
Clinics typically see intake time drop by more than half once patients aren't hand-writing the same clipboard form they filled out last visit.
Step 4: Real-time PMS write-back
This is the step that makes the difference between a kiosk that's a nice front-desk toy and one that actually saves staff time. As soon as the patient finishes, the kiosk writes the updated insurance status, intake answers, and check-in timestamp directly into the practice management system — Dentrix, Open Dental, Eaglesoft, or AthenaHealth — so the record staff sees on their screen is already current. No one re-types anything from a paper form into the PMS after the fact.
Practices running this integration report that the two-way sync is what actually eliminates double data entry, rather than just digitizing the clipboard.
Step 5: Wayfinding and handoff
Once check-in is confirmed, the kiosk tells the patient where to go — "Please have a seat, you'll be called shortly" or "Head to Exam Room 3" — and, in AI-avatar setups, can answer basic questions in the meantime: where the restroom is, how long the wait will be, or what forms of payment the practice accepts.
Step 6: Staff override
Every kiosk deployment needs an escape hatch. If a patient is confused, insurance comes back as inactive, or there's a billing question the kiosk shouldn't handle, a front-desk staffer can pull up the same session on their own screen and take over instantly — no restarting the process, no re-asking questions the patient already answered.
AI-avatar kiosks vs. tablet check-in
Not all check-in kiosks look or behave the same way. The two dominant approaches are basic tablet check-in and AI-avatar kiosks, and the difference matters more than it looks.
Tablet check-in is a wall-mounted or countertop tablet running a check-in app. It's inexpensive and functional: patients tap through screens, scan a card, and submit forms. But it's silent and passive — if a patient gets stuck or has a question, there's no one to ask except a human at the desk, which defeats some of the purpose.
AI-avatar kiosks add a conversational, face-and-voice layer on top of the same underlying check-in logic. The avatar greets patients by name, speaks multiple languages, walks confused patients through each step verbally, and can answer FAQs about the practice — hours, parking, what to bring — without pulling staff away from other work. For practices with older patients, non-English-speaking populations, or high walk-in volume, that difference in patient experience is often what determines whether the kiosk gets used at all or gets ignored in favor of the front desk line.
Both approaches write back to the PMS the same way. The difference is entirely in how much of the friction the kiosk absorbs versus passes back to staff.
Is a patient check-in kiosk HIPAA compliant?
A properly built kiosk is designed to be HIPAA compliant: encrypted data in transit and at rest, role-based access controls, audit logging of every check-in session, and a signed Business Associate Agreement (BAA) with the vendor. The kiosk should never store unencrypted PHI locally on the device itself — everything gets encrypted and passed through to the PMS.
Not every kiosk on the market meets this bar, so it's worth confirming a vendor's BAA and encryption standards before deployment rather than assuming compliance. See our full breakdown of what HIPAA compliance actually requires from a kiosk for the specifics on encryption, access controls, and audit trails.
What's the ROI of a check-in kiosk?
The time savings above translate directly into staff hours and recovered revenue. Clinics typically cut check-in time from several minutes to under 90 seconds per patient, reduce insurance-verification labor by hours per week, and see fewer no-shows once automated reminders are layered on top of the kiosk. For a detailed line-by-line cost breakdown, see how dental clinics save $3,500/month with an AI reception kiosk — the same math applies to any high-volume front desk, not just dental.
Most practices see the kiosk pay for itself within the first two months once reduced no-shows and recovered staff time are counted.
Getting started
Setup for a check-in kiosk typically takes 3-5 business days: connecting to your existing PMS, configuring intake forms for your specialty, and testing the eligibility integration before go-live. Staff get a walkthrough of the override panel so someone is always ready to step in if a patient needs help.
If you want to see the full check-in flow — greeting, insurance scan, intake, and PMS write-back — in action before deciding, you can book a live demo.
FAQ
Do patients need an app or account to use a check-in kiosk?
No. Patients don't need to download anything or create an account. They identify themselves at the kiosk using their name, date of birth, or a QR code from their appointment reminder, and the kiosk pulls their existing record.
What happens if a patient's insurance comes back inactive at the kiosk?
The kiosk flags the eligibility result and routes the patient to a staff member for manual review rather than blocking check-in entirely. The patient can still complete intake while the insurance question gets sorted out at the desk.
Can a check-in kiosk work for walk-ins, or only scheduled appointments?
Both. Walk-ins search by name or create a new record on the spot, while scheduled patients are recognized automatically from the day's appointment list. The same insurance scan, intake, and PMS write-back flow applies either way.